Dry oven chicken breast has ruined more weeknight dinners than almost any other food mistake, and it is rarely anyone's fault in the way they think. People blame the chicken, or the oven, or their own cooking skills. Most of the time, the real problem is much simpler: chicken breast has almost no fat to protect it, so it goes from juicy to chalky in a very small window. Miss that window and there is no sauce in the world that fully fixes it.
The good news is that the window is not hard to hit once you know where it is. You do not need a fancy marinade, a special pan, or a new oven — just four habits, done in order, that work on plain salt-and-pepper chicken as well as a fully seasoned version.
Why Chicken Breast Dries Out So Fast
Chicken breast is lean muscle, and lean muscle tightens as it heats — like a sponge being squeezed, pushing moisture out. Thighs have more fat and connective tissue, which is why they forgive a few extra minutes and breasts do not. A lot of chicken advice is written for thighs and then applied to breasts, where it fails.
Shape makes it worse. A raw breast is thick in the middle and thin at the tapered end, so the thin end overcooks while the thick middle is still catching up. That is why two of the four rules below are about evenness and temperature, not flavor.
Then there is the cutting board problem. Cut into a breast the second it leaves the oven and the juices run straight onto the board, because they have not had time to settle. That puddle is the juiciness you were trying to keep.
The 4 Rules for Juicy Oven Chicken Breast
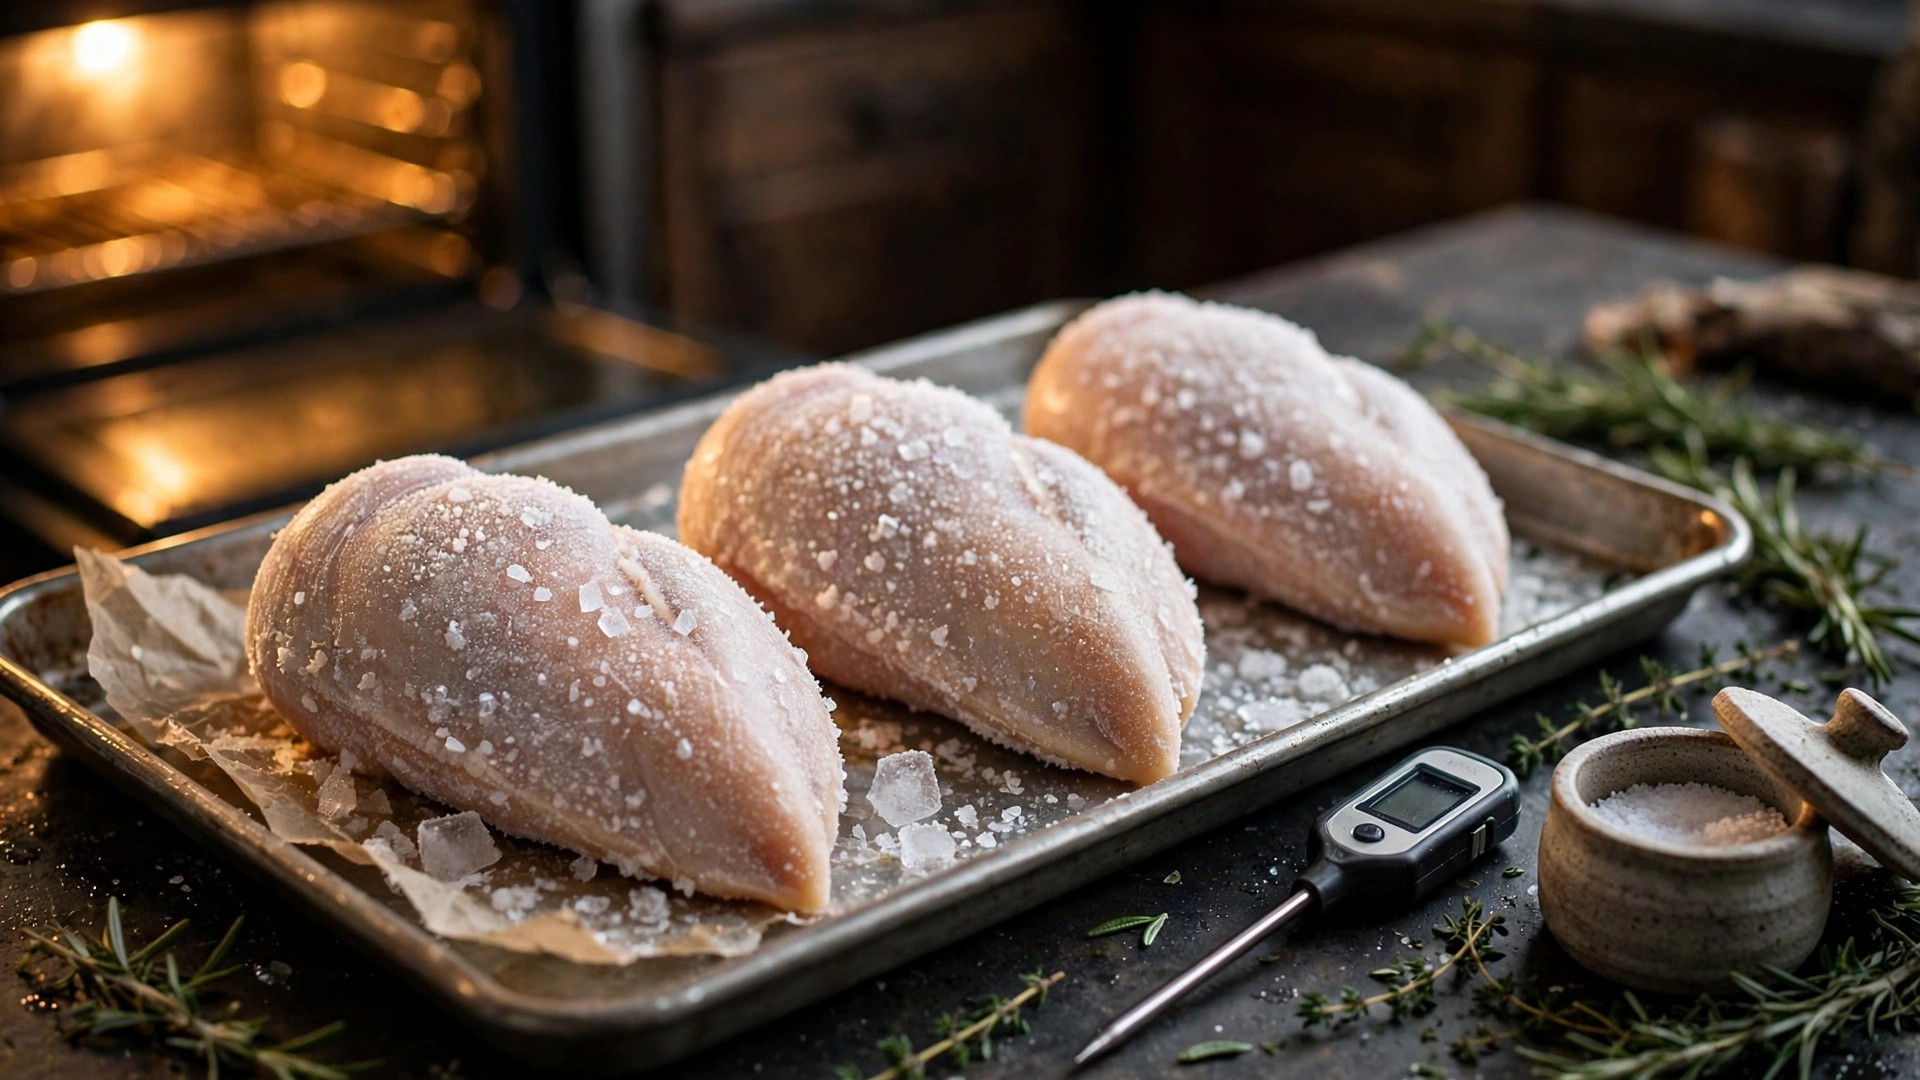
Rule 1: Salt it ahead (30–60 minutes beats 30 seconds)
Salt does more than season here. Given 30–60 minutes, it dissolves into the surface moisture, gets drawn into the meat, and helps the fibers hold on to water during cooking instead of squeezing it all out. Seasoning right before cooking still adds flavor, but it misses that head start.
A simple brine works the same way: dissolve 1/4 cup of kosher salt in 4 cups of cool water and soak the breasts for 30–60 minutes, then pat them dry. Do not brine for hours — it can turn the texture spongy.
Rule 2: Make it even before it goes in the oven
Put each breast between parchment or in a zip-top bag and pound the thick end gently with a mallet, rolling pin, or heavy pan until the whole piece is about 3/4 inch thick. You are not making a cutlet — just evening out the thick middle so the whole breast finishes at the same time.
Rule 3: Do not overcook it — use a thermometer
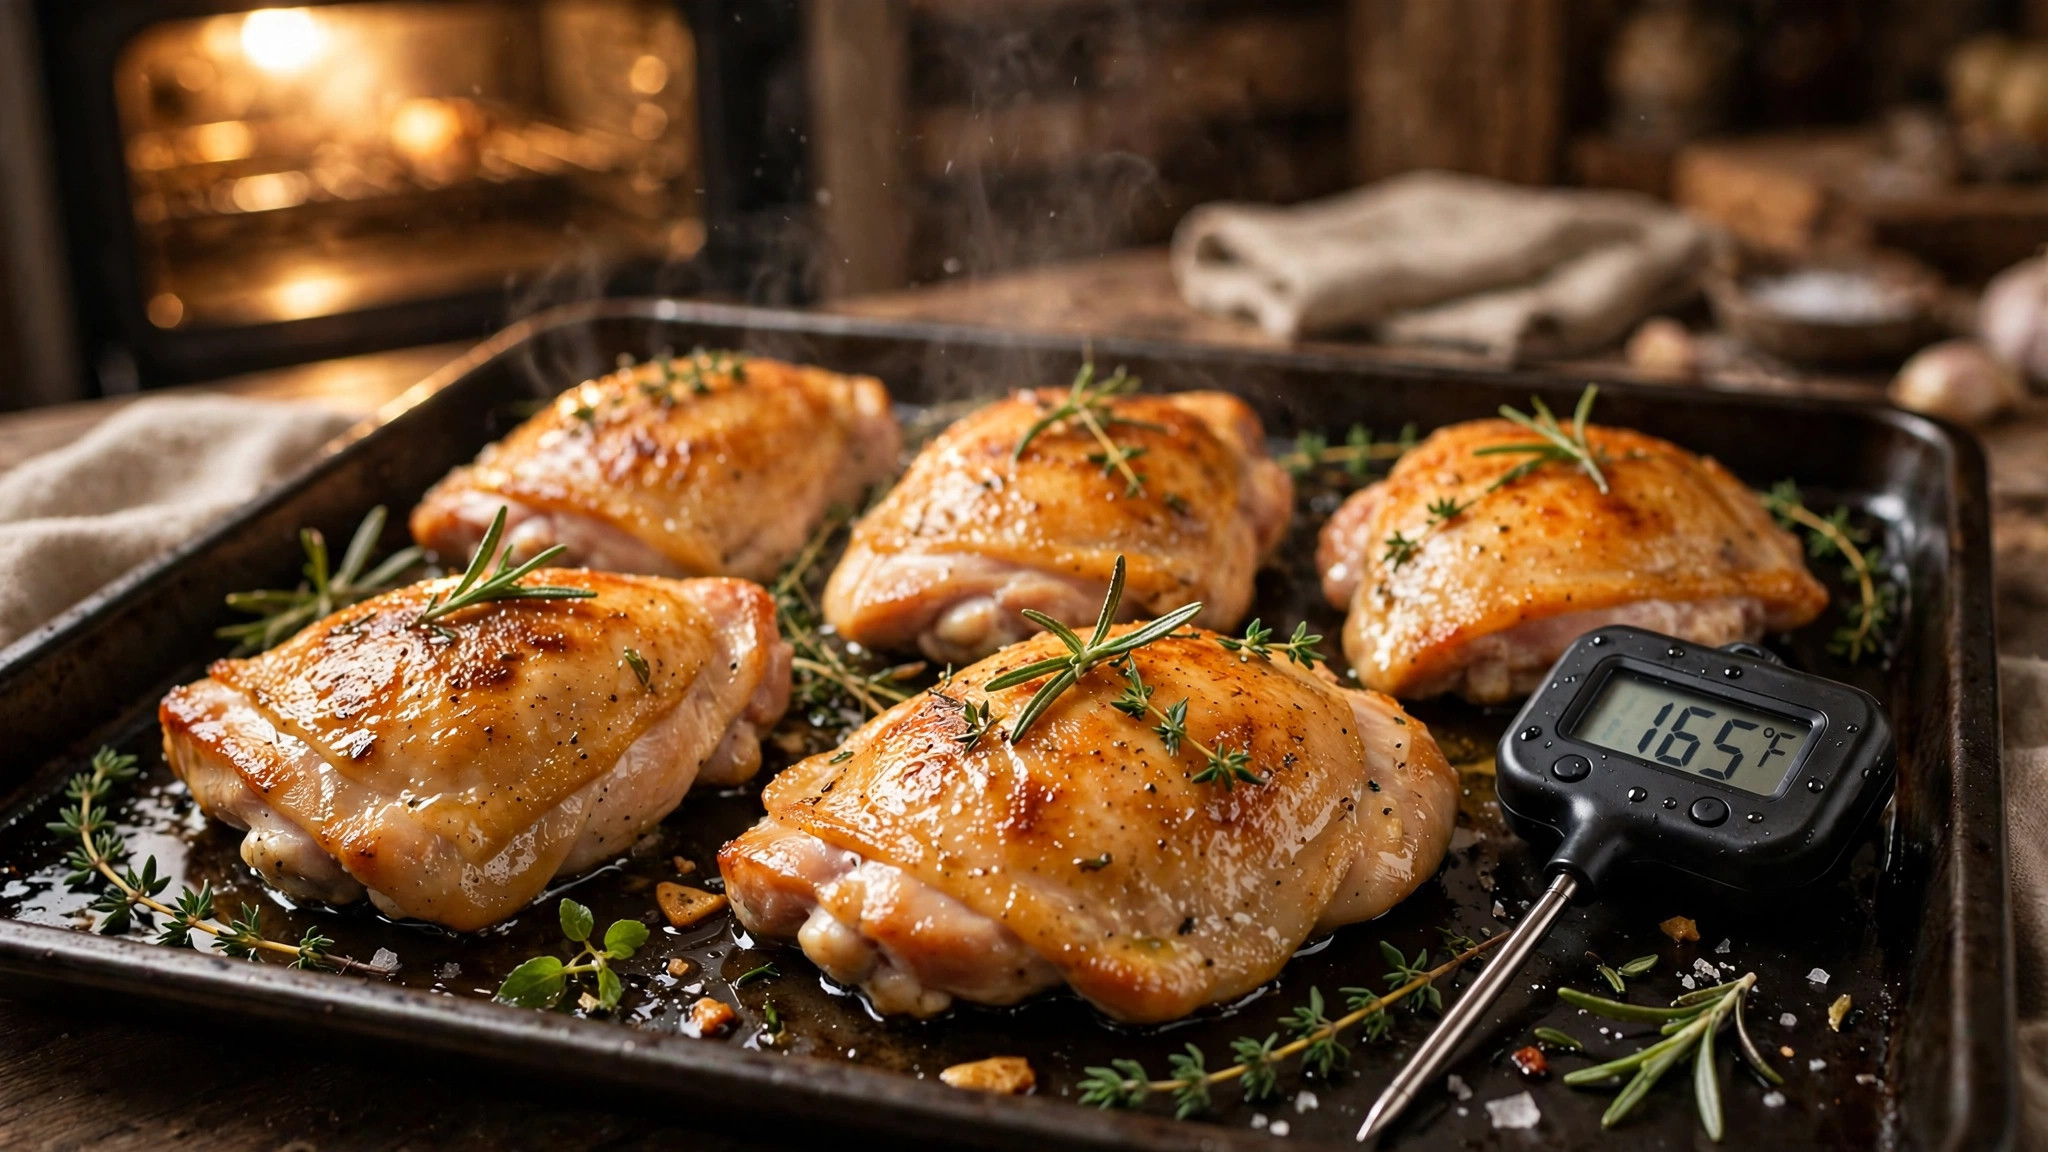
This is the rule that matters most, and you cannot guess your way through it. The USDA safe minimum for chicken is 165°F, and that is the number to hit before serving. But if you wait until the thermometer reads 165°F in the oven, carryover heat pushes it to 170°F or more — dry territory. Pull at 155–160°F, rest, and check again: carryover heat brings it to 165°F. Color is not a reliable guide, and cutting it open to peek costs juices. An instant-read thermometer takes two seconds — insert it into the thickest part, away from the pan.
Rule 4: Rest it before you slice it
Move the cooked breasts to a cutting board, tent loosely with foil, and wait 5–10 minutes before slicing. During the rest, the fibers relax and the juices redistribute instead of flooding out. Slice against the grain and the slices stay glossy instead of going matte and dry within a minute.
The Simple Oven Method (2–4 Breasts)
This is the plain version. No marinade, no breading, nothing to buy. Once this works for you, add whatever seasoning or sauce you like — the method stays the same.
- 2–4 boneless, skinless chicken breasts (about 6–8 oz each)
- 1 tsp kosher salt and 1/2 tsp black pepper per 2 breasts, plus more to taste
- 1 tbsp olive oil
- Optional: 1 tsp garlic powder and 1 tsp paprika for color and flavor
- Salt 30–60 minutes ahead. Pat the breasts dry, season with the salt, pepper, and optional garlic powder and paprika, and refrigerate uncovered. If you skipped the head start, season now and keep going — it will still be good, just not quite as juicy.
- Heat the oven to 425°F. A hot oven cooks the outside fast enough to brown it without giving the inside time to dry out. Line a rimmed baking sheet with parchment or foil and brush it lightly with oil.
- Pound to even thickness. Get each breast to about 3/4 inch thick all over, as described above, then rub with the olive oil.
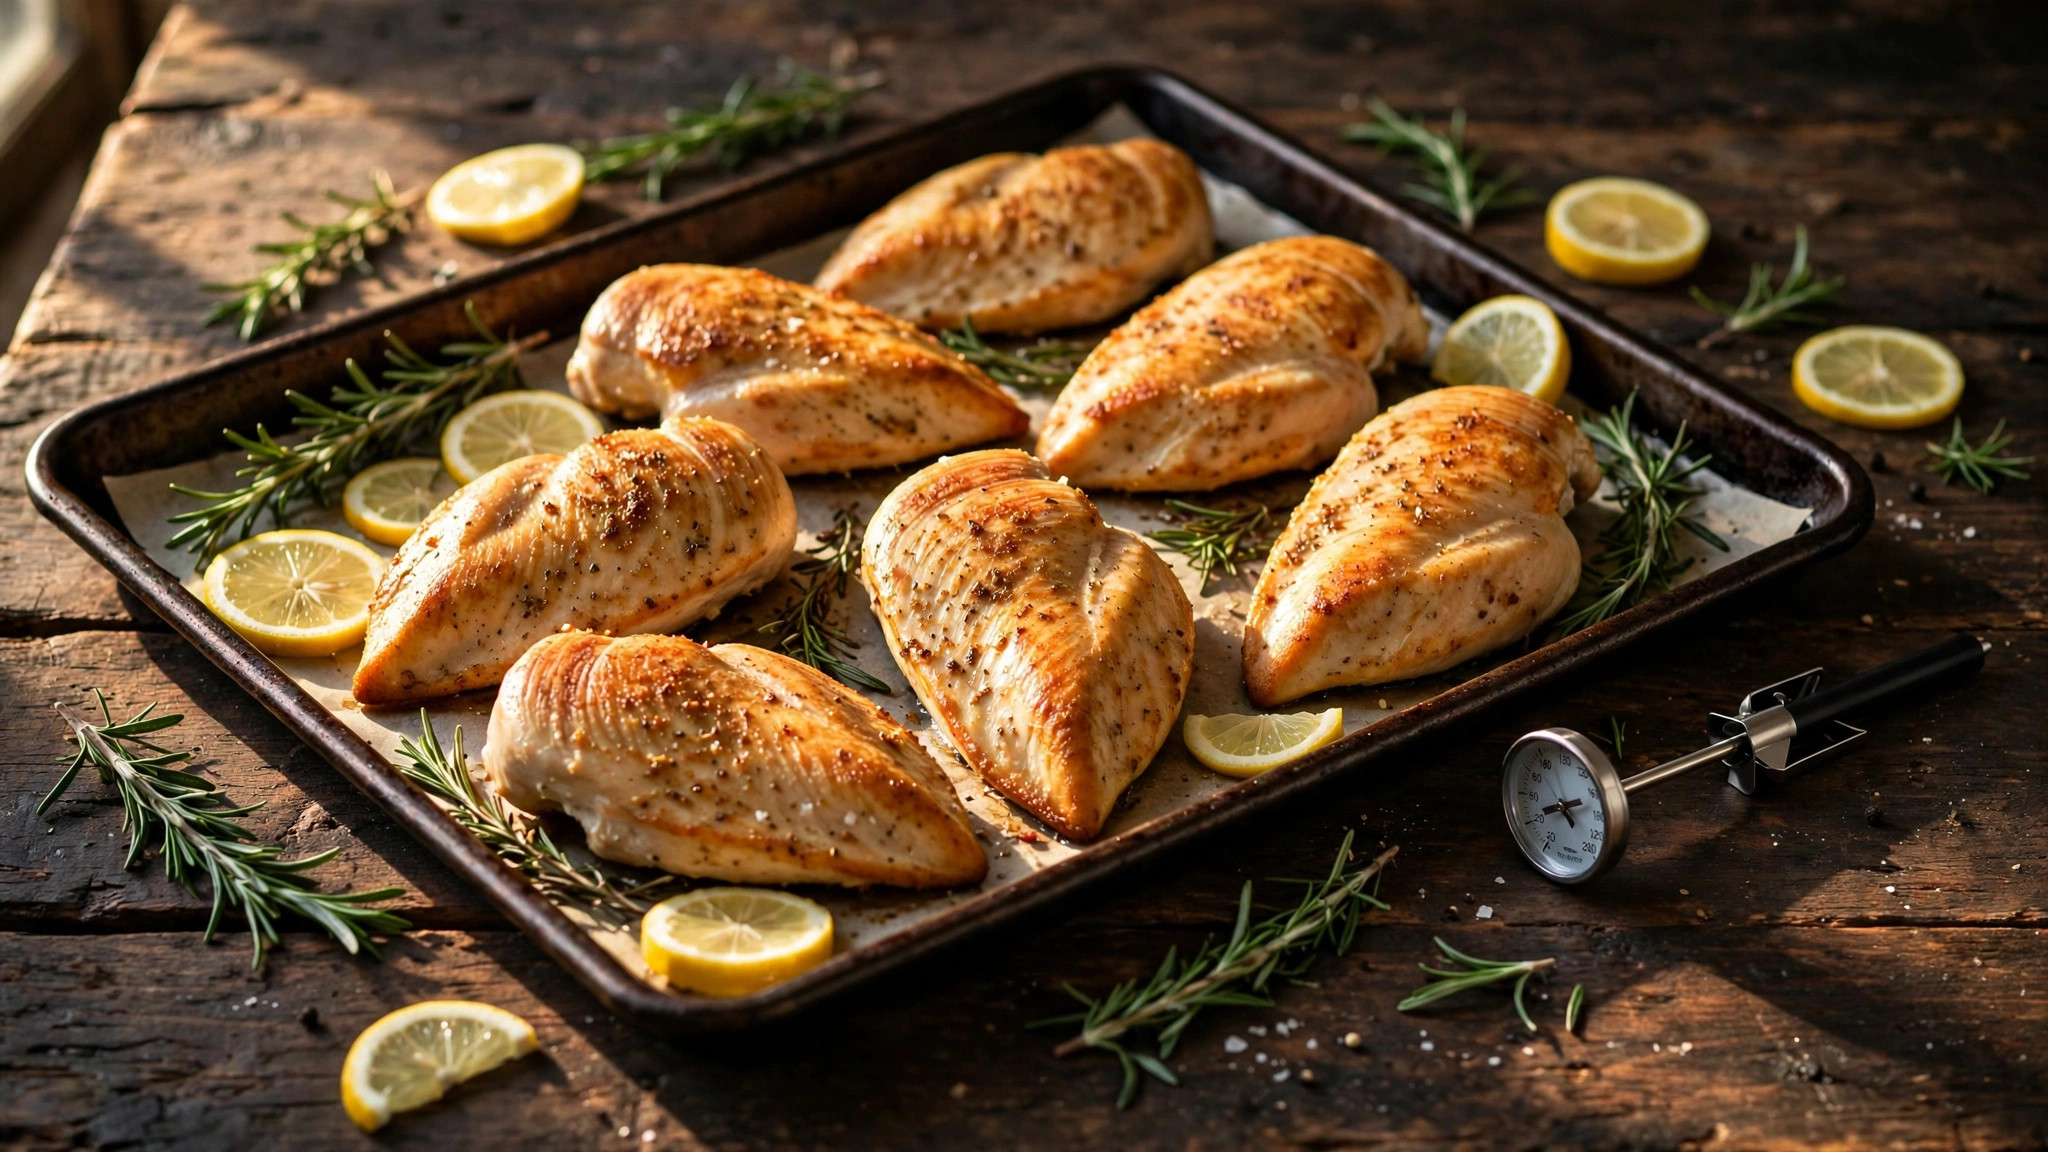
- Bake 18–22 minutes. Time depends on size, so trust the thermometer, not the clock. Start checking at 18 minutes for average breasts. If you want the full time-and-temperature breakdown for a lower oven setting, our guide to how long to bake chicken breast at 375°F covers it step by step.
- Pull at 155–160°F. Check the thickest part of the largest breast. Take the pan out, tent loosely with foil, and rest 5–10 minutes. Check again before serving — the thermometer should read 165°F, the USDA safe minimum.
- Slice against the grain and serve. Pour any juices from the board or pan back over the sliced chicken. Those juices are flavor, not mess.
A note on 425°F: it sounds high, and that is the point. A lower oven spends more time drying the breast out before the center finishes. If your oven runs hot or your breasts are small, check a few minutes early.
3 Mistakes That Dry Chicken Breast Out
Cooking it straight from the fridge, uneven and cold in the middle. A fridge-cold, thick-in-the-middle breast cooks unevenly almost by definition. Let it sit at room temperature for 15–20 minutes while the oven heats, and pound it even.
Skipping the thermometer and cooking by time alone. Breasts vary wildly in size — one package can hold a 5 oz breast and an 8 oz breast side by side — so a time that is perfect for one is overcooked for the other. Time gets you into the neighborhood; the thermometer gets you to the right house. This is also why starting from frozen needs its own plan: if that is your situation, read how long extra frozen chicken breast takes in the oven before you start, because frozen breasts need roughly 50% more time and a different checking routine.
Slicing it the second it leaves the oven. It smells done and everyone is hungry. Resist it: five minutes of rest is the difference between slices that glisten and slices that look tired before they reach the plate. The same patience pays off with other cuts too — our guides to baked boneless skinless chicken thighs and how long to bake chicken thighs at 400°F use the same thermometer-and-rest logic, adjusted for the fattier cut.
FAQ: Keeping Chicken Breast Juicy
Should I cover chicken breast with foil while baking? Not for the whole bake — covering traps steam and stops browning, so you get pale, steamed chicken. Bake uncovered, then tent loosely with foil only during the rest.
Does brining really make a difference, or is salt enough? Both work, and salt ahead is enough for most weeknight cooking. Brining adds a little extra insurance for very large breasts, but if you only have 30 minutes, dry-salting beats skipping the step.
Why is my chicken juicy fresh but dry as leftovers? Reheating is a second round of cooking. Reheat slices gently — low heat, covered, with a splash of water or broth — and slice only what you are about to eat.
What temperature is safe for chicken breast? The USDA safe minimum for chicken is 165°F. Pulling at 155–160°F and resting is a way to reach that number through carryover heat, not a way around it — always verify 165°F with a thermometer before serving.
That is the whole system: salt ahead, even it out, trust the thermometer instead of the clock, and rest before you slice. Do those four things and oven chicken breast stops being the dry default and starts being the reliable one.