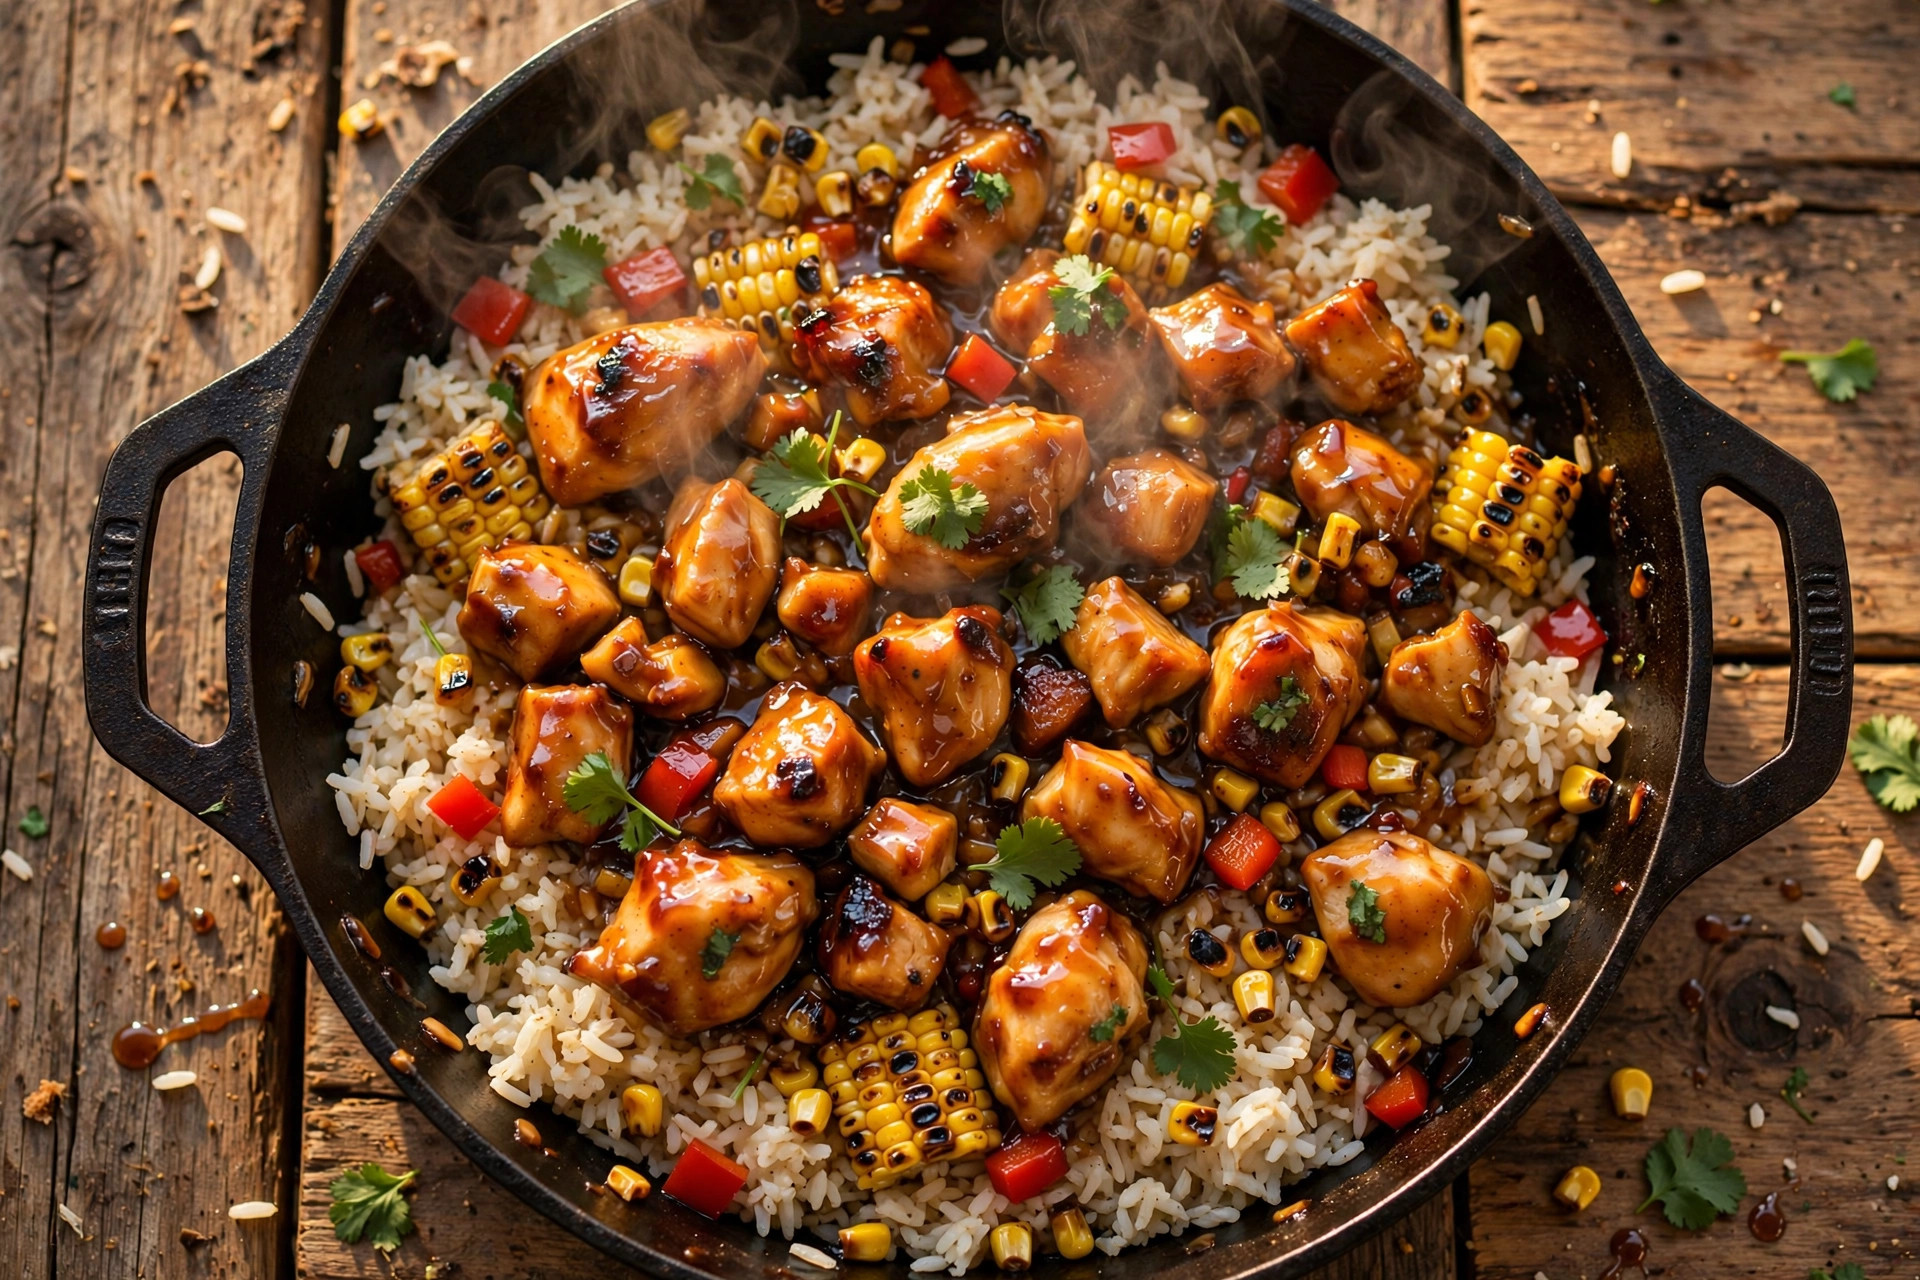
A one-pan honey BBQ chicken rice skillet is exactly what the name promises: juicy chicken pieces lacquered in a sticky honey-BBQ glaze, tossed with fluffy rice that cooked up in the very same skillet, all in about 35 minutes. You sear the chicken hard first, steam the rice in chicken broth right in the pan, then stir in the glaze at the very end — so the honey caramelizes instead of burning. One skillet, one lid, dinner for four, and a single pan to wash.
Here's the thing nobody tells you about this dish: the honey is a troublemaker. Dump it in early with the rice and it spends 15 minutes getting scorched, turning bitter and gluey while the rice is still getting its act together. Then the whole skillet tastes like a campfire had a bad day. The fix is embarrassingly simple — treat the glaze like a finishing move, not a foundation — and once you flip the order, everything about this recipe clicks into place.
The Sticky Trap (Why Most Honey-BBQ Skillets Go Wrong)
Scroll through the internet's version of this recipe and you'll see the same mistake over and over. Chicken, rice, broth, honey, and BBQ sauce all go into the pan at once, the lid goes on, and everyone hopes for the best. What comes out is... technically food. But it has three predictable problems, and they're all the honey's fault.
Problem one: the honey burns before the rice is done. Honey is mostly sugar, and sugar darkens fast in a hot pan. Give it a 15-minute head start while the rice simmers and you're not caramelizing — you're scorching. The glaze goes from sweet to bitter, and bitterness is not a flavor you can fix with more honey.
Problem two: the chicken steams instead of sears. When the chicken goes in with all that liquid and sauce, it never gets a chance to brown. It just simmers, pale and sad, like it's in a lukewarm bath. Browned chicken tastes like actual dinner. Simmered chicken tastes like a meal-plan obligation.
Problem three: the rice drowns. Recipes hedge their bets by adding "a little extra broth just in case," and the rice drinks it all, turning gummy while the glaze thins out into a sad brown soup. Sticky-glazed chicken and soupy rice do not belong in the same sentence.
All three problems come from one bad idea: treating the glaze like it belongs in the pot from minute one. It doesn't. The glaze is dessert's loud cousin — it shows up at the end and takes all the credit.
The Rule: Caramelize First, Glaze Last
This whole recipe runs on one sentence, so tattoo it on your brain: brown the chicken, cook the rice, then glaze. That's it. That's the recipe.
When the chicken hits a hot skillet before anything wet touches the pan, you get real caramelization — golden edges, crispy bits, that browned flavor you can't fake. Then the onion and rice toast in the leftover drippings, the broth goes in, and the rice steams to fluffy perfection in a clean, savory pan. Only in the final minutes does the honey-BBQ glaze join the party, when there's barely any heat left for the honey to misbehave.
The order also fixes the rice. Without a sugary sauce thickening everything, the classic rice math works perfectly: one cup of rice, two cups of broth, a lid, and 12 quiet minutes. The rice comes out fluffy and distinct, and the glaze coats everything like a jacket instead of dissolving into a stew.
If you remember nothing else from this article, remember this: honey is the last thing in the pan, not the first. Every good thing below flows from that.
The Glaze, Measured to the Tablespoon
The glaze is four ingredients and no guessing. Mix it up in a bowl before the chicken even sees the pan, so you're not juggling a honey bottle with raw-chicken hands:
- ½ cup BBQ sauce — a sweet hickory or brown-sugar style, your favorite bottle
- ⅓ cup honey — about 4 tablespoons; this is the caramelize-don't-burn amount
- 2 tbsp apple cider vinegar — the secret weapon (see below)
- 1 tbsp Worcestershire sauce — adds the savory depth BBQ sauce wishes it had
That 2 tablespoons of vinegar is the difference between a glaze that tastes rich and a glaze that tastes like candy. Honey and BBQ sauce are both sweet, and sweet-on-sweet turns cloying fast. A little acid slices through it and makes every bite taste bright instead of syrupy. Don't skip it, don't eyeball it — vinegar is the ingredient people never add and always wonder why their glaze feels heavy.
Whisk it together, set it aside, and forget about it until the rice is almost done. The glaze does nothing for the first 25 minutes of this recipe, and that restraint is exactly why it works.
The Full Lineup (Serves 4)
Prep: 10 minutes · Cook: 25 minutes · Dishes: 1 skillet + 1 bowl
- 1½ lb (680 g) boneless, skinless chicken thighs, cut into 1-inch pieces (thighs stay juicy — see the swap note below)
- 1 tsp kosher salt
- ½ tsp black pepper
- 1 tsp smoked paprika
- 1 tsp garlic powder
- 1 tbsp vegetable oil
- 1 small yellow onion, diced (about 1 cup)
- 1 cup long-grain white rice, uncooked
- 2 cups low-sodium chicken broth
- The glaze: ½ cup BBQ sauce + ⅓ cup honey + 2 tbsp apple cider vinegar + 1 tbsp Worcestershire, whisked
- 2 tbsp chopped scallions, for the top
The swap: chicken breasts work, but they forgive nothing — cut them into the same 1-inch pieces and don't let them sear a second past done. Thighs are cheaper, juicier, and much harder to mess up, which is why they're the default here.
The safety line: chicken is done when the thickest piece reads 165°F on an instant-read thermometer — that's the USDA's safe minimum internal temperature for poultry, and it's not a suggestion. If you're going by color or "it looks done," the USDA's own meat-safety blog warns that looks can lie — a thermometer costs a few bucks and settles every argument.
The Play-by-Play (35 Minutes, One Skillet)
- Mix the glaze first (2 minutes). Whisk the BBQ sauce, honey, vinegar, and Worcestershire in a small bowl and set it by the stove. Getting this done up front means you never touch the honey bottle with raw-chicken hands, and you're not fumbling mid-cook.
- Season the chicken (2 minutes). Toss the chicken pieces with the salt, pepper, paprika, and garlic powder in a big bowl. Every piece should have some color on it — the seasoning is the crust-to-be.
- Sear it hard (6 minutes). Get the 12-inch skillet hot over medium-high heat, add the oil, and lay in the chicken in a single layer. Don't crowd it — work in two batches if you have to, because crowded chicken steams and lonely chicken sears. Leave it alone for 3 minutes, flip, 3 more minutes, until the edges are deeply browned. Pull it out to a plate. (It doesn't need to be cooked through — the rice simmer finishes it.)
- Onion, then rice (4 minutes). Same pan, same heat: the onion goes in for 2–3 minutes until it softens and starts picking up the browned bits. Then the dry rice goes in, stirred for a full minute until the grains look pearly at the edges. This little toast keeps the rice from turning mushy later.
- Broth in, lid on (12 minutes). Pour in the broth and scrape the bottom of the pan — all that browned chicken fond dissolves into liquid gold. Nestle the chicken pieces back in, bring it to a boil, drop the heat to low, lid on, and set a timer for 12 minutes. Do not lift the lid. The steam is doing a job you can't supervise.
- Glaze at the end (3 minutes). Timer goes off, lid comes off. Spoon the glaze over everything and stir gently — the chicken pieces are tender now, so no roughhousing. Lid off, heat back to medium, 2–3 minutes while the sauce thickens and turns glossy. This is the caramelize moment the whole recipe was building toward: the honey coats everything in a sticky shine without a single scorched spot.
- Rest and serve (5 minutes). Off the heat, lid back on, 5 minutes of rest so the rice finishes absorbing and the glaze sets into a lacquer. Scatter the scallions, bring the skillet straight to the table, and watch people lean in. One pan. That's the whole cleanup.
That step-6 moment is why this recipe exists. Everything before it is setup — the chicken getting browned, the rice getting fluffy — and the glaze swooping in at the end is the payoff. If you've ever made the "everything in at once" version and wondered why it tasted flat, now you know exactly where it went wrong.
Pick Your Heat Level
The base recipe is kid-friendly sweet — exactly zero heat. But this glaze takes spice beautifully, and it all happens in the glaze bowl, so you can dial it in without touching the cooking steps:
- Mild (as written). Sweet, smoky, crowd-pleasing. The vinegar keeps it from tasting like dessert.
- Kick. Add ½ tsp red pepper flakes or 1 tbsp sriracha to the glaze. A warm background hum that makes the honey taste even honey-er.
- Spicy. Add 2 tbsp of your favorite hot sauce plus ½ tsp cayenne to the glaze. Sweet-heat territory — serve with cold drinks nearby and no regrets.
One warning: don't add the spice to the chicken seasoning instead of the glaze. Heat in the glaze distributes evenly and stays controllable; heat in the sear can concentrate into surprise bites. Keep the spice where you can measure it.
Three Rice Rules (Don't Skip These)
One-pan rice only fails when someone breaks one of these three rules, so here they are, in order of how often people break them:
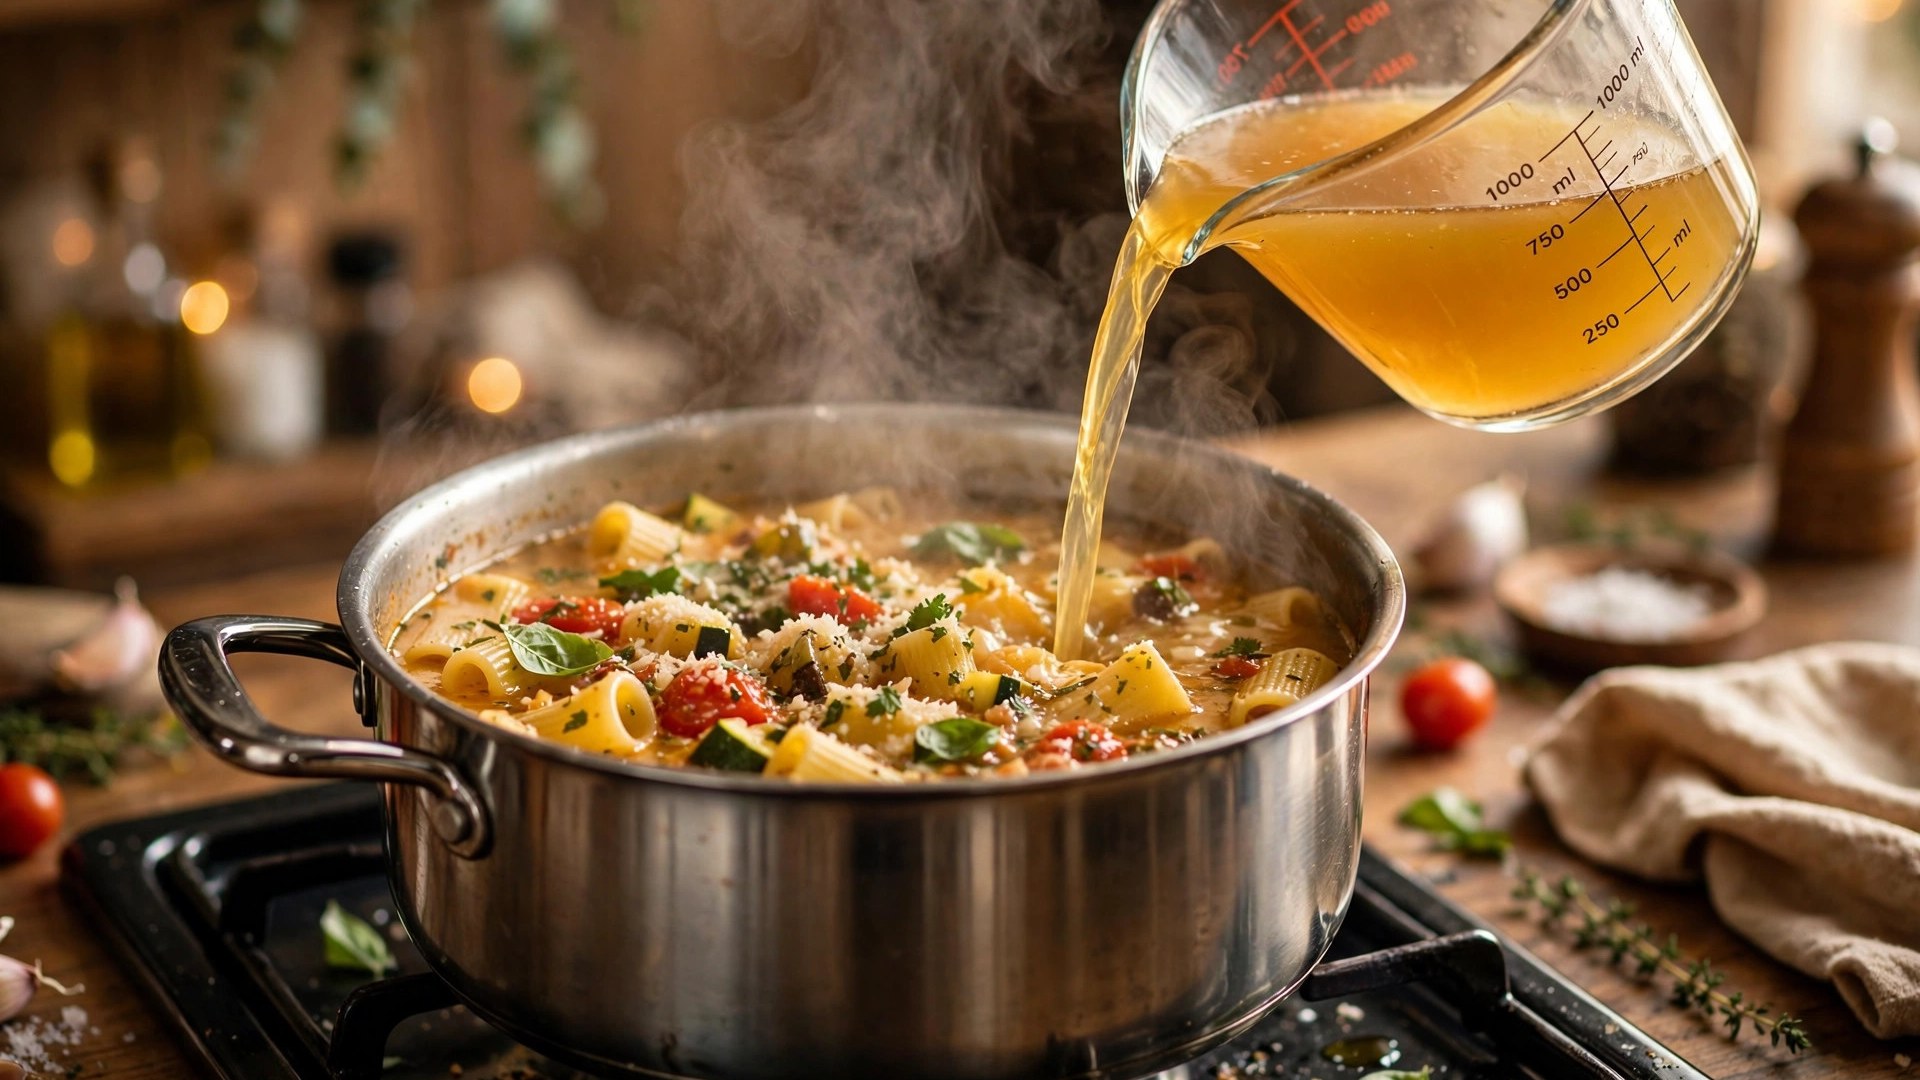
Rule 1: the 1-to-2 ratio is sacred. One cup of rice, two cups of broth. Not "two-ish," not "a little extra just in case" — two. If you want to understand why liquid ratios make or break one-pot cooking, the one-pot liquid rule breaks down the same principle for pasta, and the lesson carries over: measured liquid, predictable results.
Rule 2: the lid stays on. Every peek vents the steam the rice is counting on. Lifting the lid three times to "check" adds minutes of uneven cooking you can't get back. Set the timer, walk away, trust the process.
Rule 3: resist the last-minute stir. Once the lid is on, the rice is arranging itself into fluffy layers. A mid-simmer stir breaks those layers and releases starch, which is how you get gummy rice. The first stir happens when the glaze goes in — and that's it.
Leftovers That Don't Suck
This recipe feeds four as written, and the leftovers are arguably better — the glaze keeps working its magic overnight and every bite tastes deeper. A few rules:
- Pack it up fast. Get leftovers into the fridge within 2 hours of cooking. Perishable food left out longer than that is a gamble, and the foodsafety.gov cold-storage chart is the authority on how long cooked chicken and rice keep — this skillet is good for 3–4 days chilled.
- Reheat with a splash of broth. Rice dries out in the fridge no matter what you do. Sprinkle a tablespoon or two of broth (or water) over each serving before microwaving, and the steam brings the fluff back.
- Crunch it up. Leftover rice begs to be refried: spread it in a hot oiled skillet for 3–4 minutes until the bottom crisps, and you've got a completely different dinner from the same box.
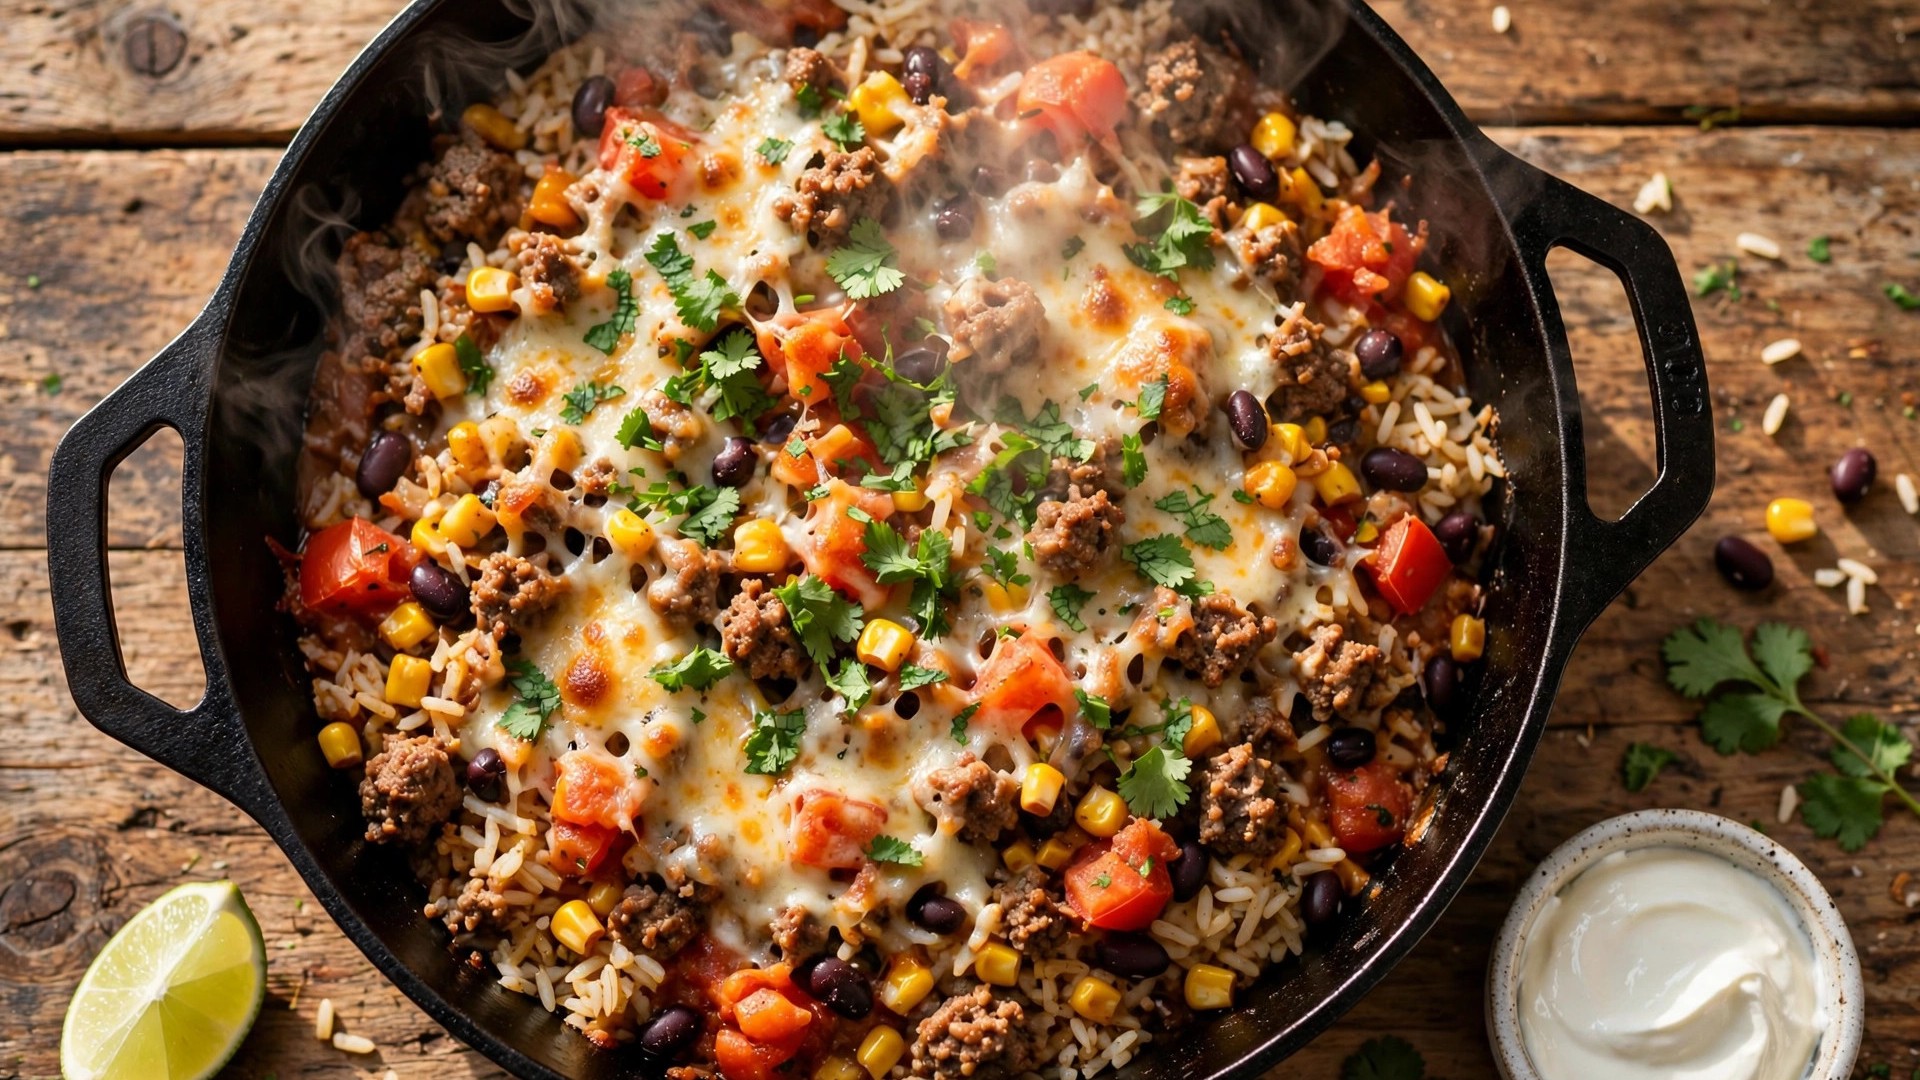
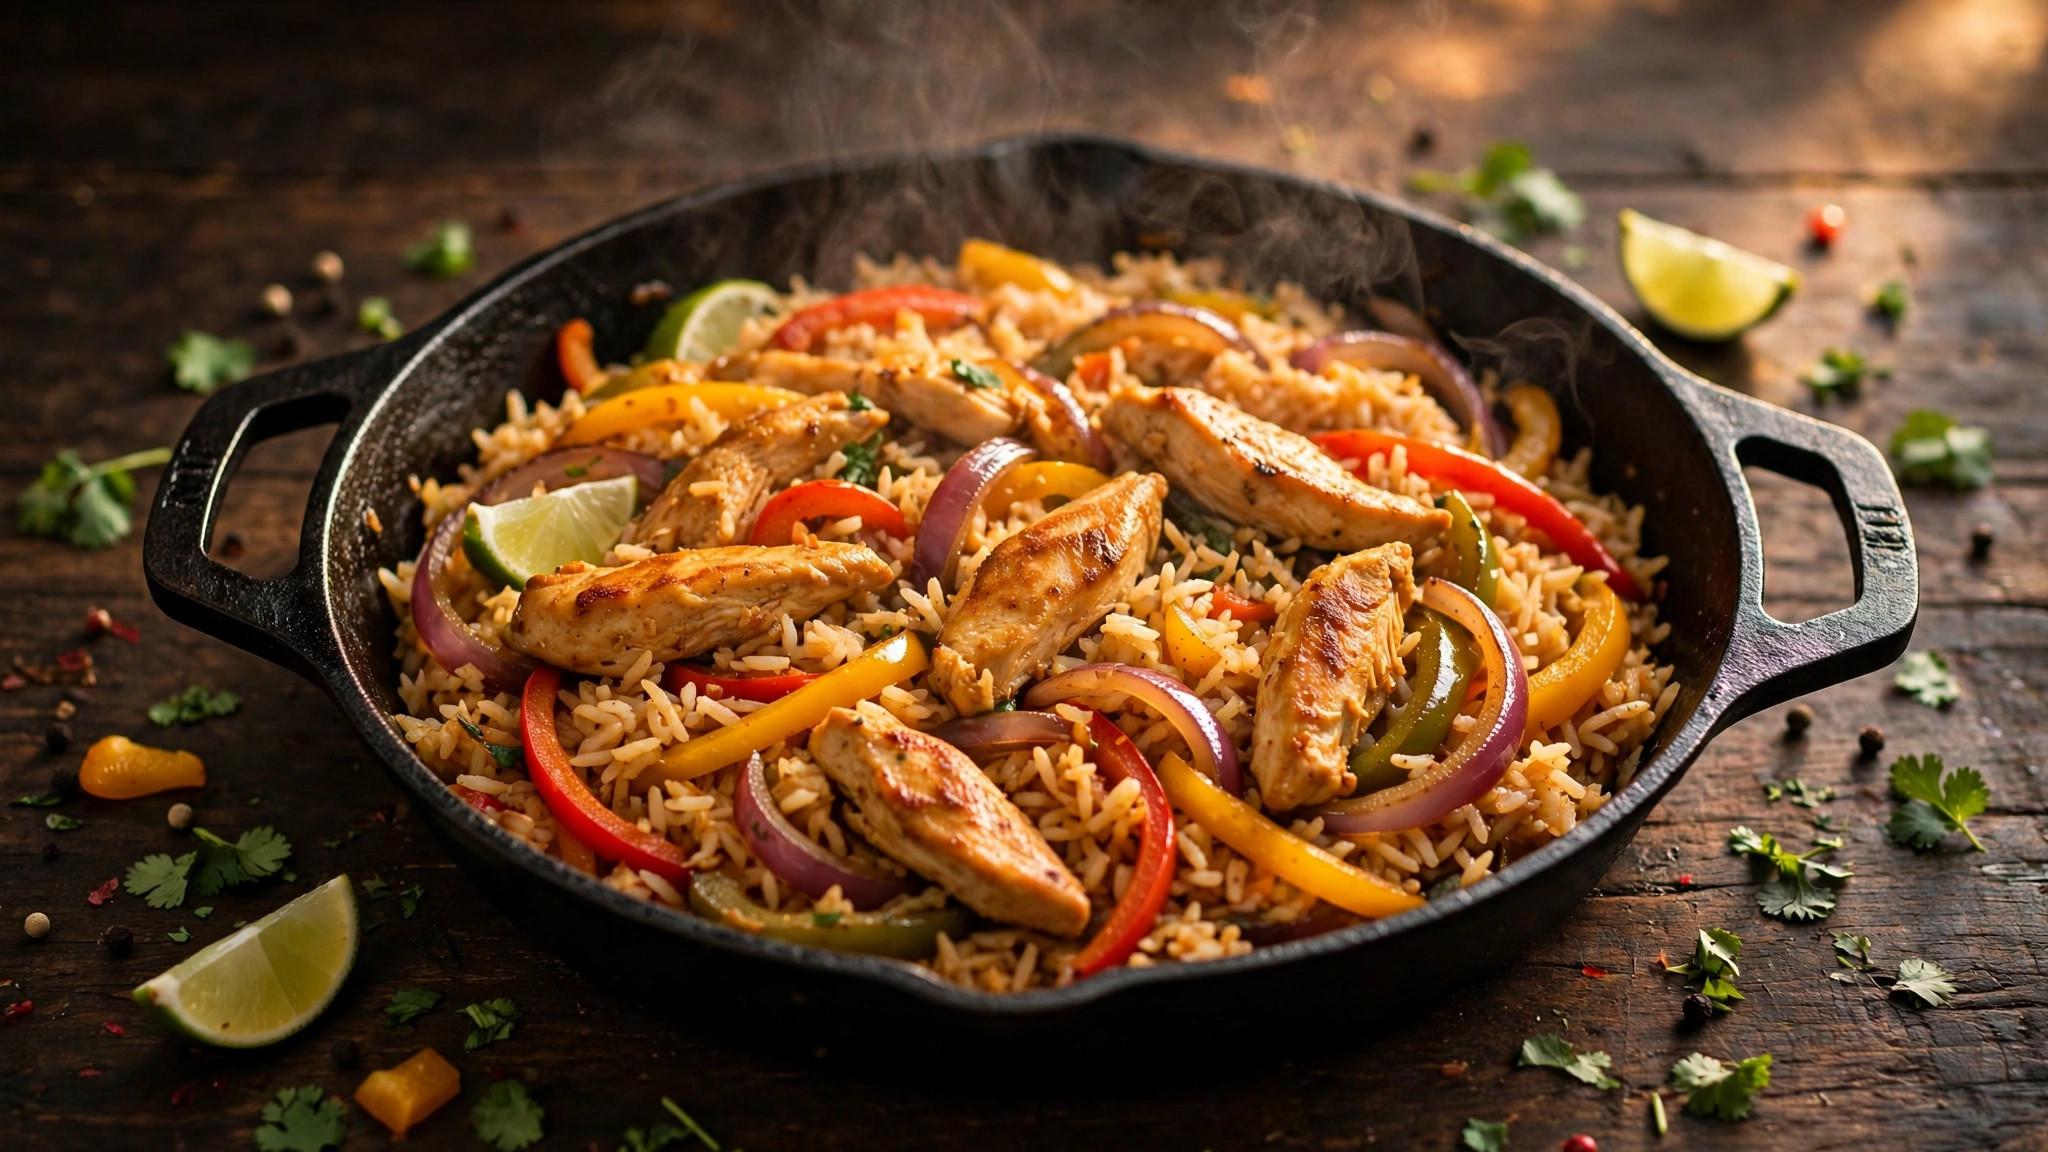
And if this skillet makes you a one-pan convert, the 20-minute taco skillet uses the same sear-first playbook with ground beef, and the chicken fajita rice skillet is this recipe's Tex-Mex sibling for the nights you want peppers and lime instead of honey and smoke.
"Honey is a finishing move, not a foundation. Brown the chicken first, let the rice steam in peace, and the glaze gets to be the hero — sticky, glossy, and not a single scorched spot."
🍯 What's Your Glaze Game? (60-Second Quiz)
Three questions. Zero wrong answers. One brutally accurate BBQ personality.
1. The glaze is mixed. First move?
2. The rice timer goes off. You:
3. Someone asks for ketchup at the table:
Up Next: Keep the One-Pan Streak Going
The sear-first, lid-on playbook works on way more than honey-BBQ chicken. The 20-minute taco skillet is the beef-and-beans weeknight version with the same minute-by-minute honesty, the chicken fajita rice skillet trades the honey glaze for charred peppers and a squeeze of lime, and the one-pot pasta liquid rule settles the "how much water?" question for every Italian night after this one.